a small cause for celebration
November 24, 2013 § 3 Comments

Three years ago to this day I started a blog, inspired by living and working as a cook at Friendly Beaches Lodge and, of all things, an article in a Jetstar inflight magazine about blogging. Before I read the article, I didn’t even know what a blog was (yes, mainly becuase I had been living under a rock in Tasmania). Whilst I don’t remember exactly what the article was about, I do remember that something in me stirred and at 25 000 feet above the Bass Strait en route to Melbourne I decided to start a blog. It would be a food blog, with stories and recipes and a focus on sustainable, local, seasonal, unplugged cooking. But, most importantly it would be a place to keep me creative, to force me into the kitchen and taking photos, a place to try to pull words from my thoughts and scrawl them on a blank screen. And so I wrote, “What better thing to do on a hot spring day than start a food blog…” 3 days later I was unexpectedly on a plane to Sierra Leone and my “food blog” was momentarily hijacked by travel stories.

Since then I have often enjoyed, occasionally hated, been frustrated, exhilarated, both ashamed and very proud of this place. I have tried very hard to be honest with myself and have had to learn to be brave, to throw words out to the world and that strangely intimidating public realm. But here I am with 3 years of stories from my wooden spoon and my favourite blue ceramic pot. I am so grateful to each of you who have read this blog. You who have put up with my terrible spelling and my often flippant nature in the kitchen, thank you so much. It humbles me no end to think that I may sometimes write something that someone wants to read and cook something that someone wants to cook.

A small cause for celebration, here are some of the recipes from the last three years that I love the most.
Quinoa Pancakes
Strawberries and Basil
Chocolate Coated Dried Plums Marinated in White Wine and Thyme
Oma’s Cabbage
Osso Buco
Zucchini and Bacon Soup

Persian Love Cake
November 8, 2013 § 2 Comments

A few weeks back I went to Melbourne for a friend’s wedding in East Gippsland. There on a small property amongst the green and rolling hills we walked up to the top of a ridge, the sun golden and almost setting, to share with them their love and vows of togetherness and foreverness. I was so moved by the graciousness of love on that day, not just in the space between them, but also amongst us, all their friends, who each shared in that love for them. What a thing to celebrate! I danced until 4am in the morning and could barely move the next day, but my sore calves were a welcome reminder of the joy we can find between each other.
As you can probably guess there was cake involved… 15 different kinds to be precise. Each guest was asked to bring a plate for dinner, and most of us being most of us, naturally wanted to bring cake.
The cake I have for you today is a Persian Love Cake. With a name like that, could you really resist? In Persia, this cake is cooked by a mother in law for her daughters husband to be. The story goes, that once he eats the cake he will fall madly in love and they will have a happy marriage.
Thanks to Gourmet traveller and a dear friend for introducing me to this cake. I haven’t looked back!
Recipe for Persian Love Cake
360 gm (3 cups) almond meal
220 gm (1 cup) raw sugar (I used a bit less)
220 gm (1 cup) brown sugar (I used a bit less)
120 gm unsalted butter, softened
2 eggs, lightly beaten
250 gm Greek-style yoghurt, plus extra to serve
1 tbsp freshly grated nutmeg
45 gm (¼ cup) pistachios, coarsely chopped (optional)
Method
Preheat your oven to 180C. Combine almond meal, sugars, butter and 1 tsp salt in a bowl, then rub with fingertips until coarse crumbs form. Spoon half the mixture into a lightly buttered and lined 26cm-diameter springform pan, gently pressing to evenly cover base.
Add egg, yoghurt and nutmeg to remaining crumble mixture and beat with a wooden spoon until smooth and creamy. Pour over prepared base, smooth top and scatter pistachios around the edge. The recipe says to bake for 30 -35 minutes. I baked mine for about 45 minutes. And its good to keep in mind that the cake can still be a bit soft in the middle. It will keep in an airtight container for up to a week.
Enjoy!

late september
September 28, 2013 § 3 Comments

I had a dismal attempt at trying to grow watermelons this year. The process started with me very excited. I made a little round bed full of compost and manure and planted two little seeds inside. They sprouted and grew… A little… I watered them and they grew some more. They bloomed tiny little flowers and even grew one tiny little watermelon. Then I went away and the little watermelon shrivelled up. Then the rest of the vine shrivelled. And one day they were dead. And that was that.
The sun is relentless here. Unforgiving. I realise my mistake, I shouldn’t have put them in a place that gets all day sun, and I should definitely have mulched them more.
But still, I have been managing to eat some of the very best watermellons I ever had. The local ones are cheep and abundant at this time of year. They are a deep bright pink and so so sweet.

So I have a recipe for you today, a drink, and a very refreshing one at that. It comes out of the beautiful cookbook The New Persian Kitchen. Its a watermelon, mint, and cider vinegar tonic!
Author Notes: “Even if drinking vinegar sounds like a dare — and maybe that’s why you ordered it — it’s anything but. It’s sweet and sour and icy-cold. It vibrates and clangs with fruit and vinegar, and soothes with sweetness and mint. It is the most refreshing drink you will have this summer”. From The New Persian Kitchen

Recipe for Watermelon Mint and Cider Vinegar Tonic
Makes about 5 cups concentrate
3 cups water, plus more to serve
1/4 teaspoon sea salt
1 cup honey
6 cups coarsely chopped watermelon
1 cup tightly packed fresh mint, plus more to serve
1 cup apple cider vinegar (preferably with the mother because that is the best kind for you)
Ice cubes, cucumber, and lime to serve.

- Boil the water and salt in a medium saucepan. Add the honey and allow to dissolve before removing from the heat.
- Combine the watermelon and mint in a large bowl and stir in the hot honey water. Leave to cool to room temperature.
- Once cool, add the vinegar and allow the mixture to steep in the refrigerator for several hours or up to overnight.
- Strain the mixture and eat the watermelon chunks, if desired.
- Store the concentrate in a clean glass jar in the refrigerator for up to 1 week.
- To serve, pour 1/4 cup of the concentrate into a glass over ice and dilute with 3/4 cup water. Garnish with the watermelon, cucumber, and mint.

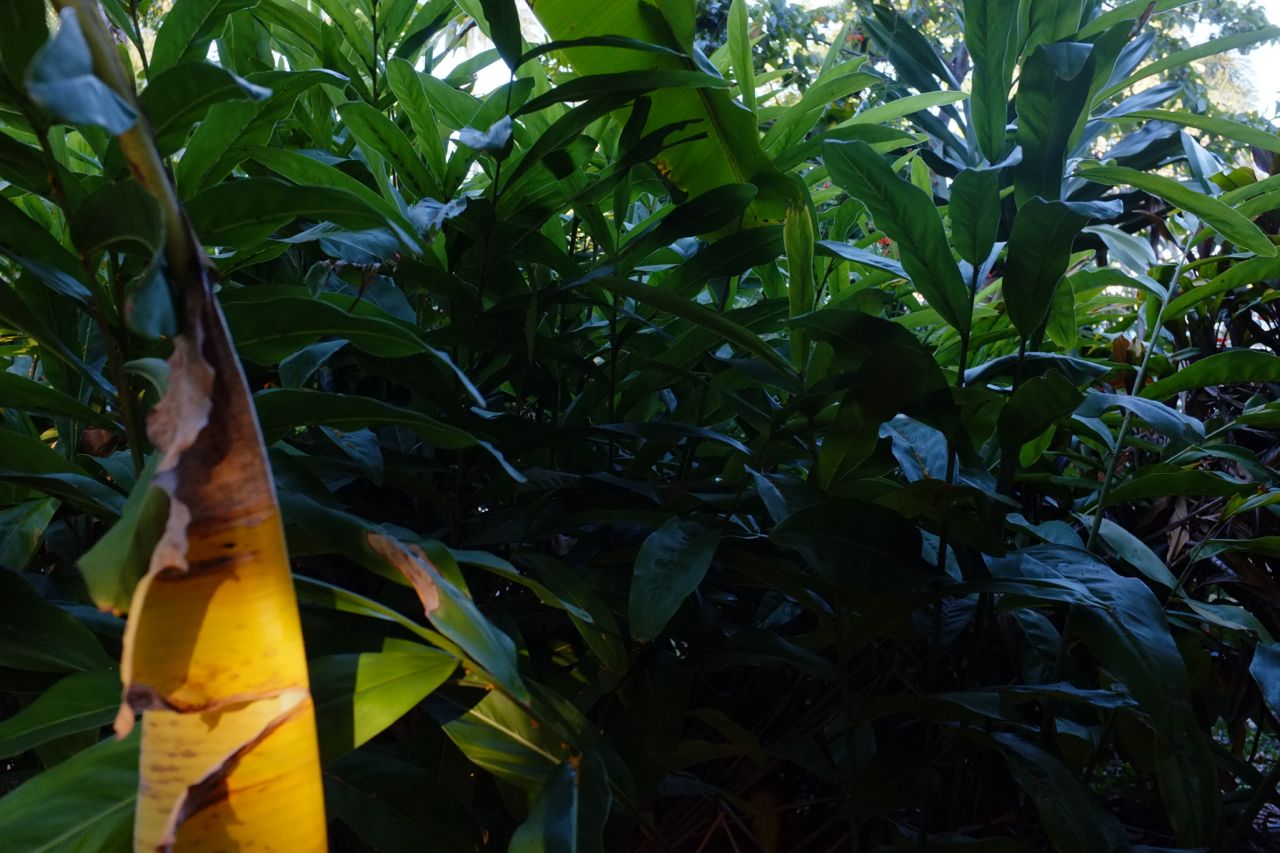
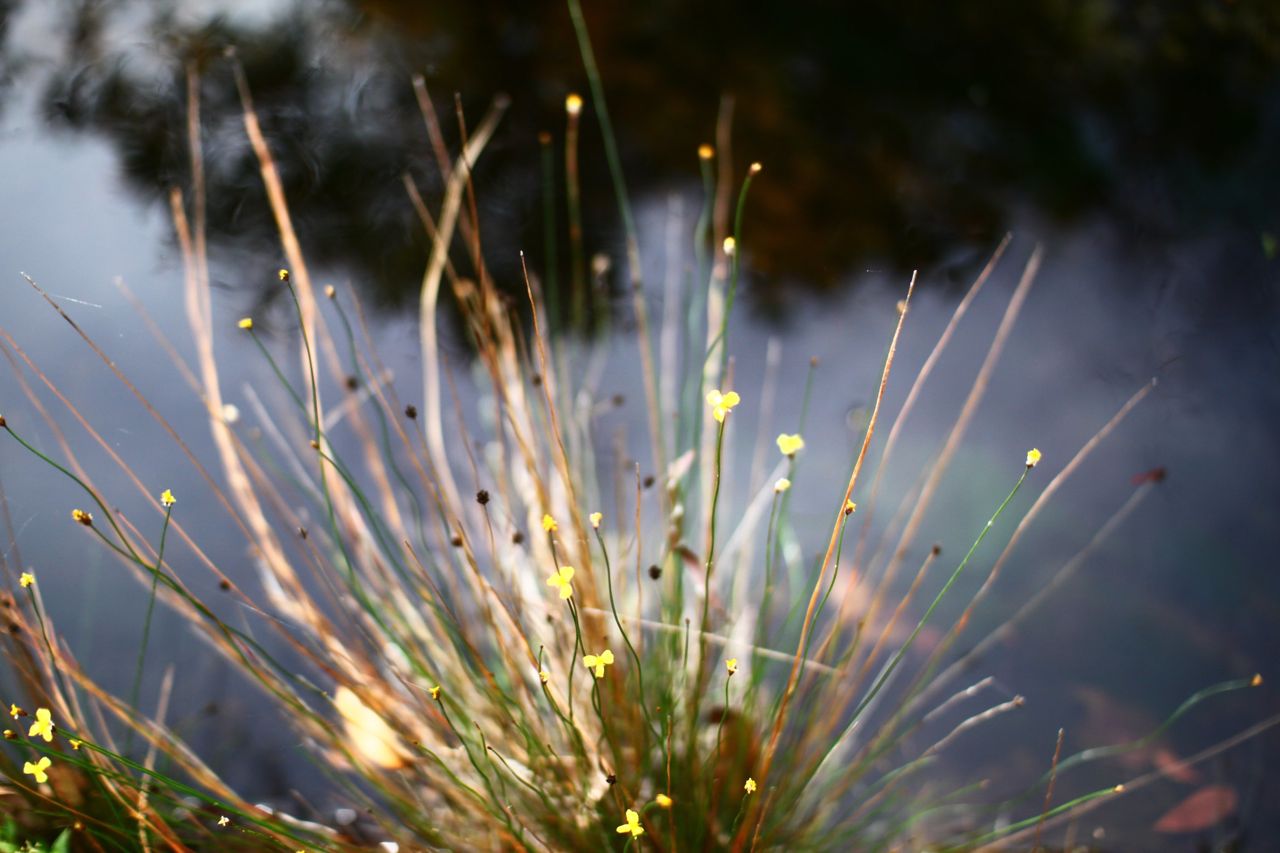
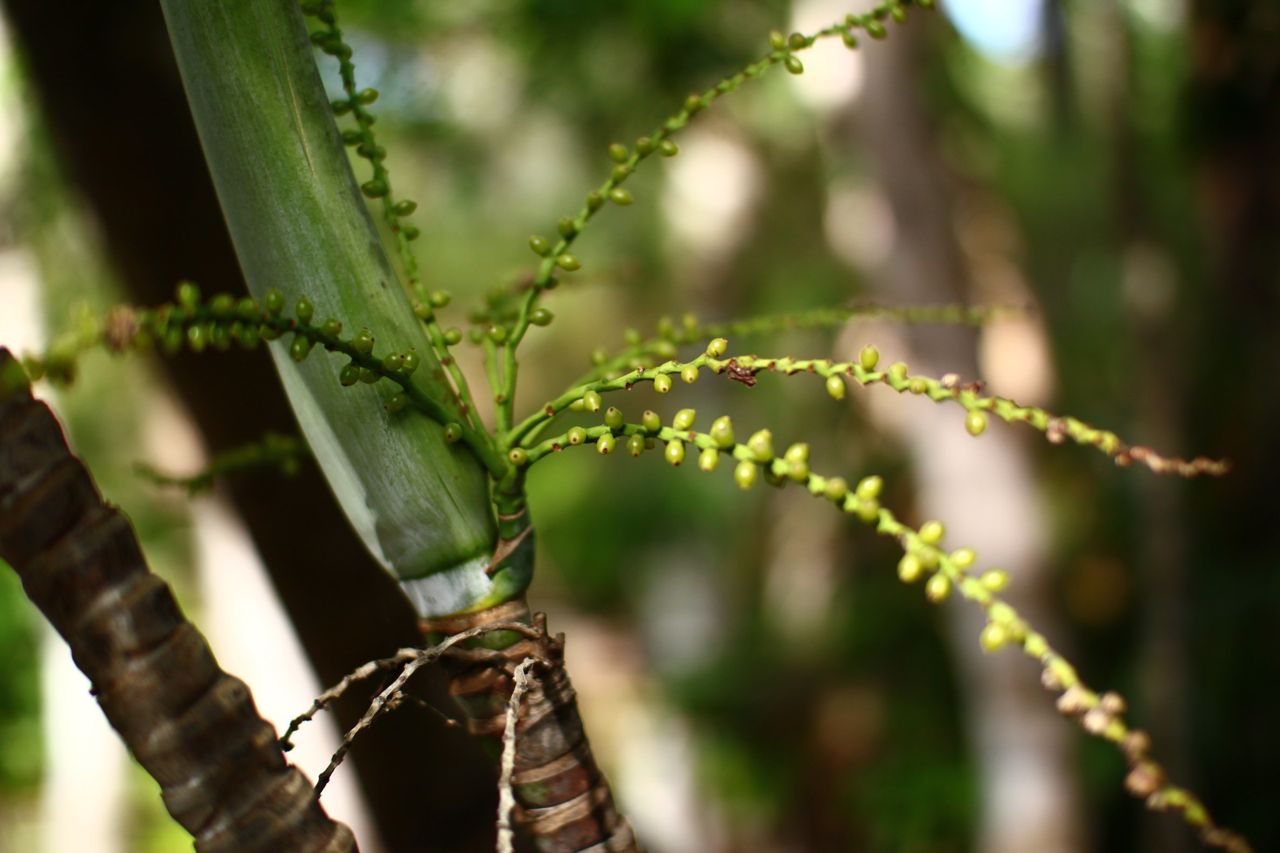
weaving in Mäpuru
September 15, 2013 § Leave a comment


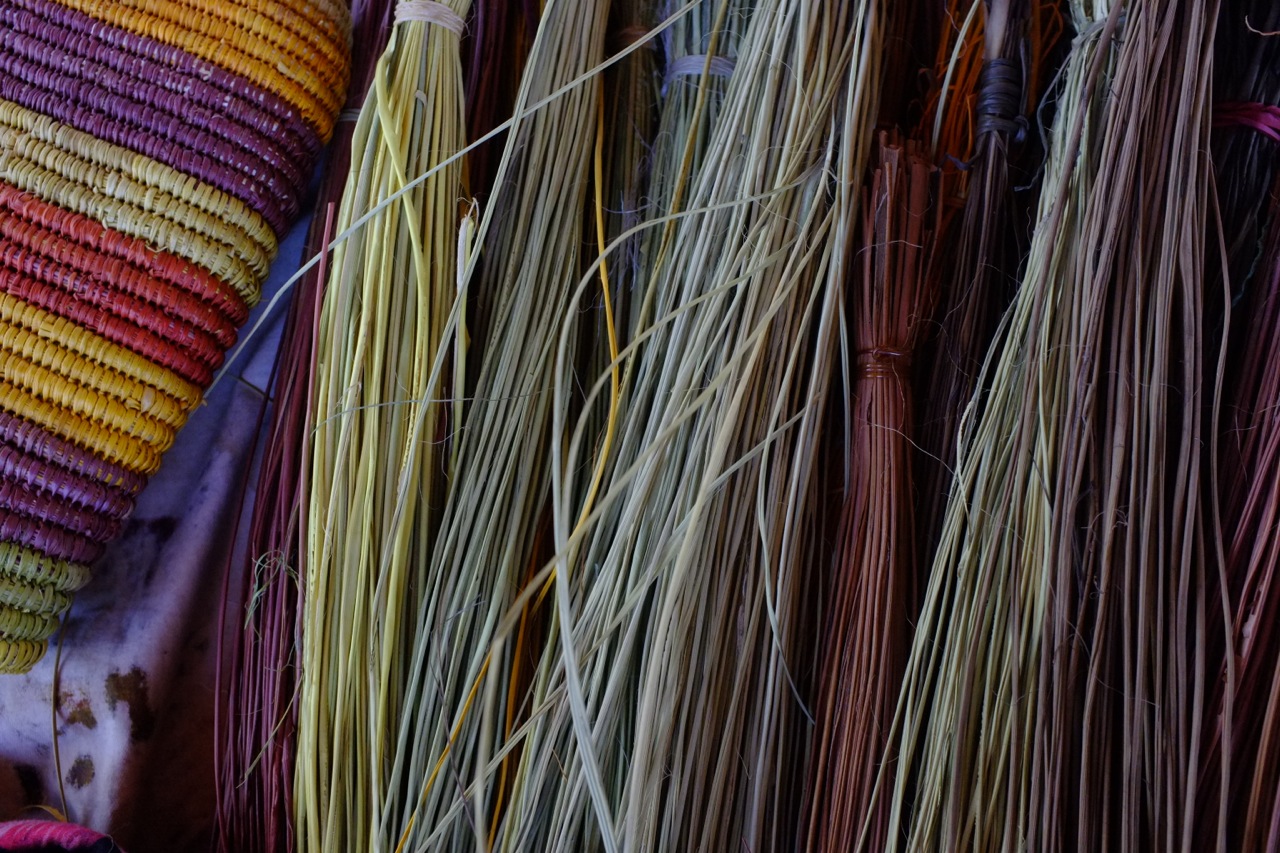
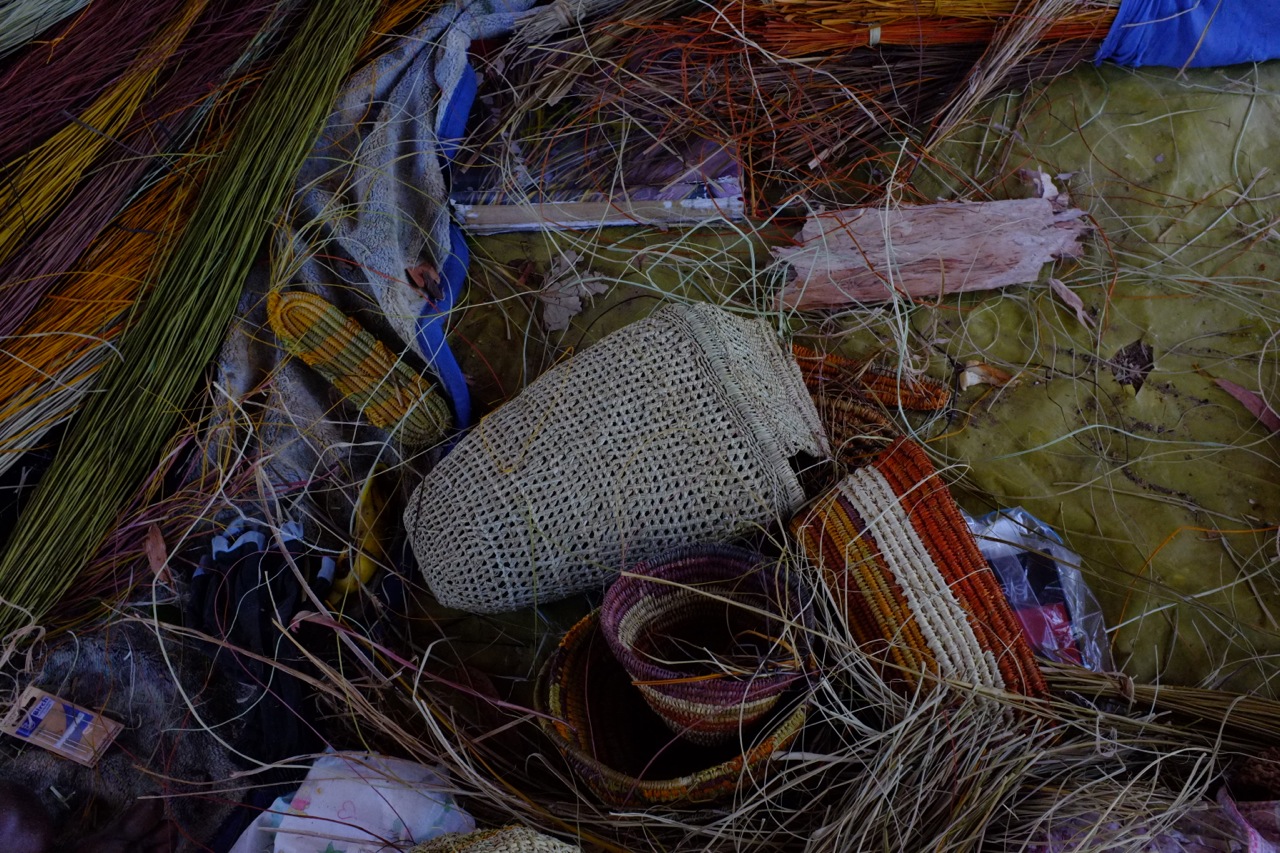
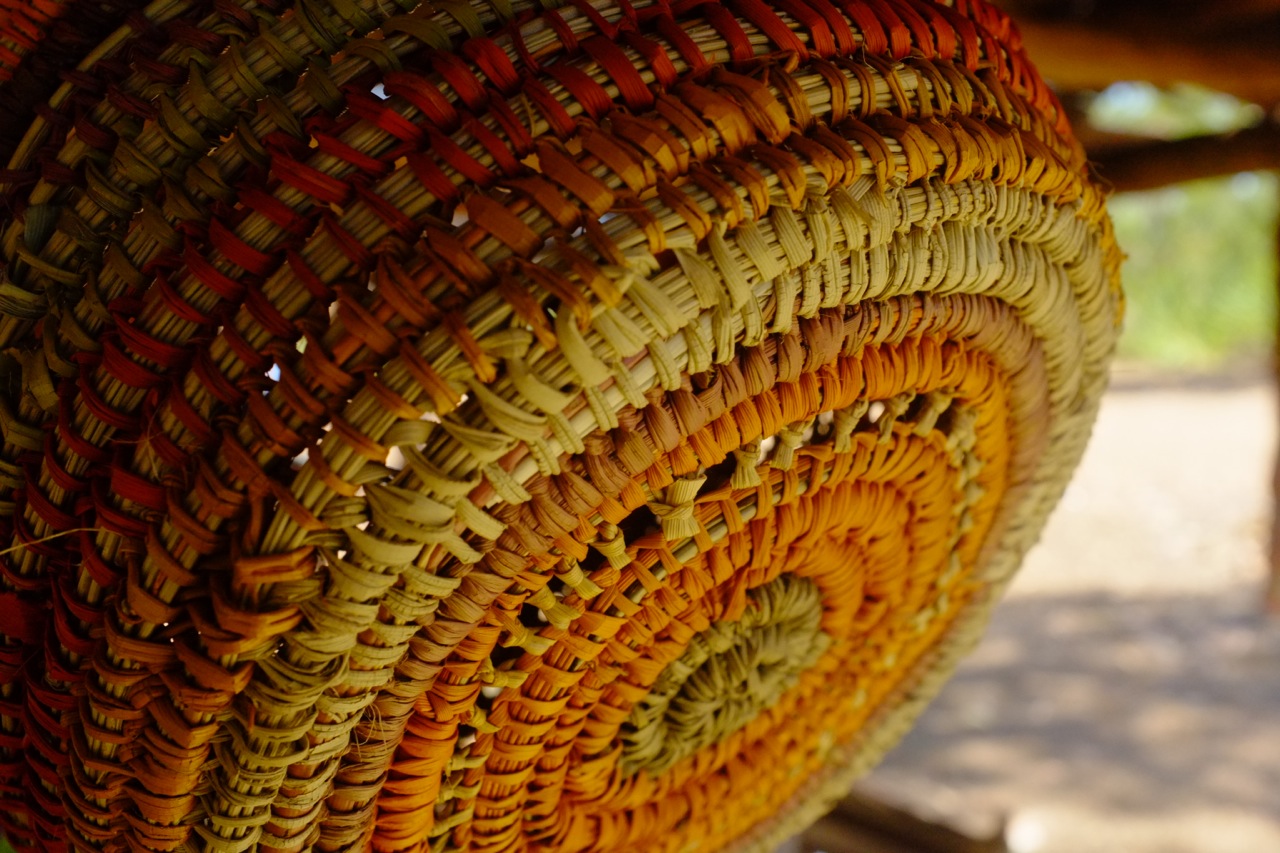
These are some photos from my most recent trip out to Arnhem Land.
You can read what I wrote when I travelled out to Mäpuru last year by following this link. http://ceresglobal.wordpress.com/2012/08/29/glimpsing-mapuru/
Papua New Guinea
July 26, 2013 § 1 Comment
I am typing these words all the way from Papua New Guinea! There are tiny ants crawling all over my laptop and getting squished between the keys. I must have eaten something sweet and forgotten to wash my fingers, they are relentless! Over the top of my laptop, I look out from the verandah to a dense, tropical scene. With fertile soil, abundant moisture and warm conditions, PNG is lush, green, and plump. The clouds are bubbly and ready to burst with rain. Trees, tall and straight with broad canopies, seem to defy gravity, growing on unimaginably steep mountain slopes.
I really like this country. I am not sure if I have met more gentle people. They remind me of my friends and family in Arnhem Land; soft and graceful like the surrounding landscape. The women have huge embraces that envelope you tightly, generously.
This is a journey that work has led me on. I am here working on a project through Charles Darwin University in partnership with the PNG National Agricultural Research Institute. We are looking into why the production and consumption of traditional vegetables is in decline and how this relates to increasing rates of malnutrition. For me it also involves taking photos of food and recording traditional recipes. I couldn’t be happier!

As always, I end up in the kitchen talking to the women. They show me how to cook the traditional foods – choko and pumpkin tips fried in oil with a little garlic, tu-lip shoots a tasty favourite, taro root, sago, fern tips, lowland pitpit and of course pork belly, and pork fat, and minced pork and pork ribs – well you get the picture.
Pigs are regarded very highly, especially for the inland populations. I am told that in the past, women used to suckle baby pigs on their breasts and they slept in the house with the family. I was also told (in jest) that pigs are more important than women because, “you can buy a wife with pigs, but you can’t buy a pig with a wife.” Obviously one can argue that without the women doing all the hard work to raise the pigs, the men wouldn’t have any to begin with, but I suppose that’s beside the point.
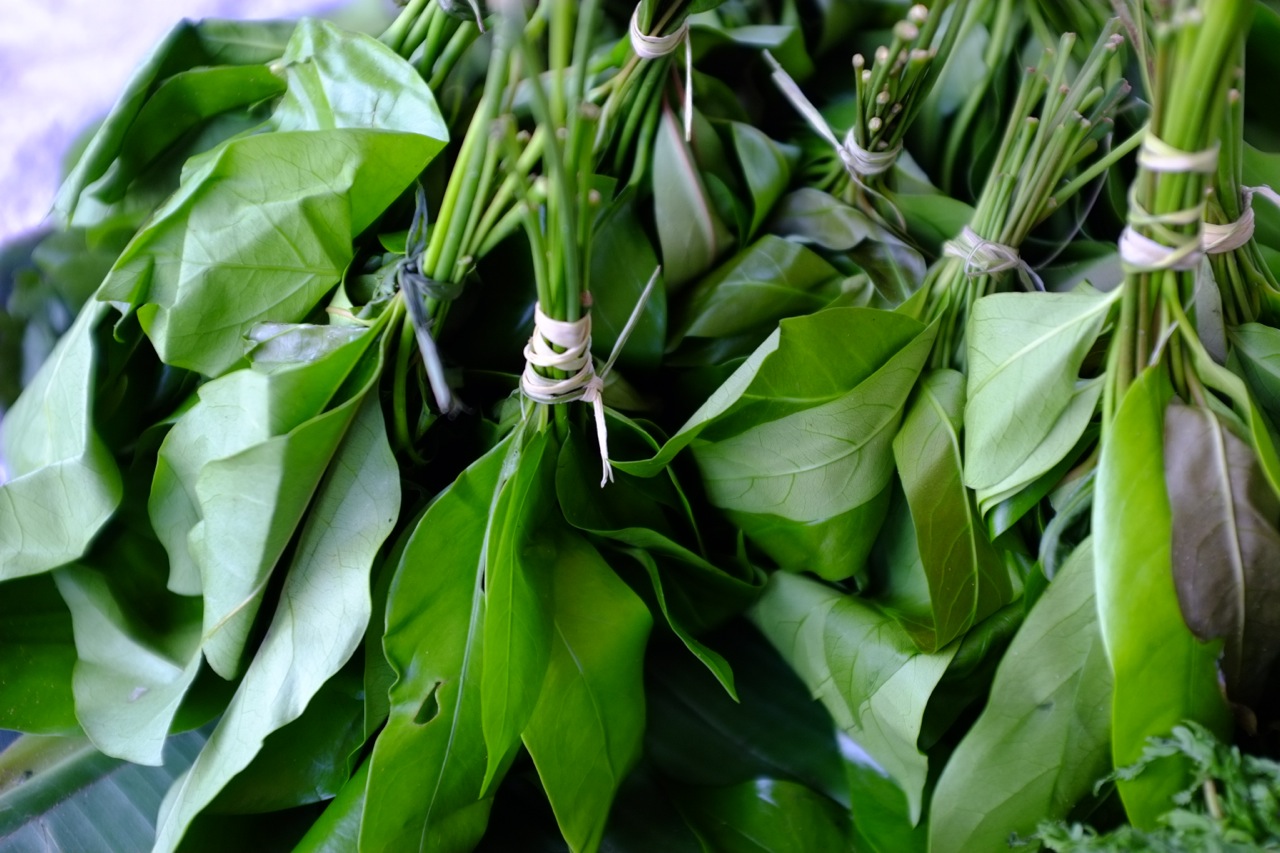
snake beans
July 15, 2013 § 2 Comments
The Tropical Garden Spectacular was on a few weeks ago. At the botanical gardens under trees with impossibly huge canopies I watched some local food cooking demonstrations. Lined up on straw bales with the green grass at our feet, some glimpse of paradise on the warm breeze, the chef Selvam Kandasamy from Saffrron, taught a small group of us how to make snake beans, sautéed in spices with coconut and curry leaves. And this my dear friends is a dish to be celebrated.
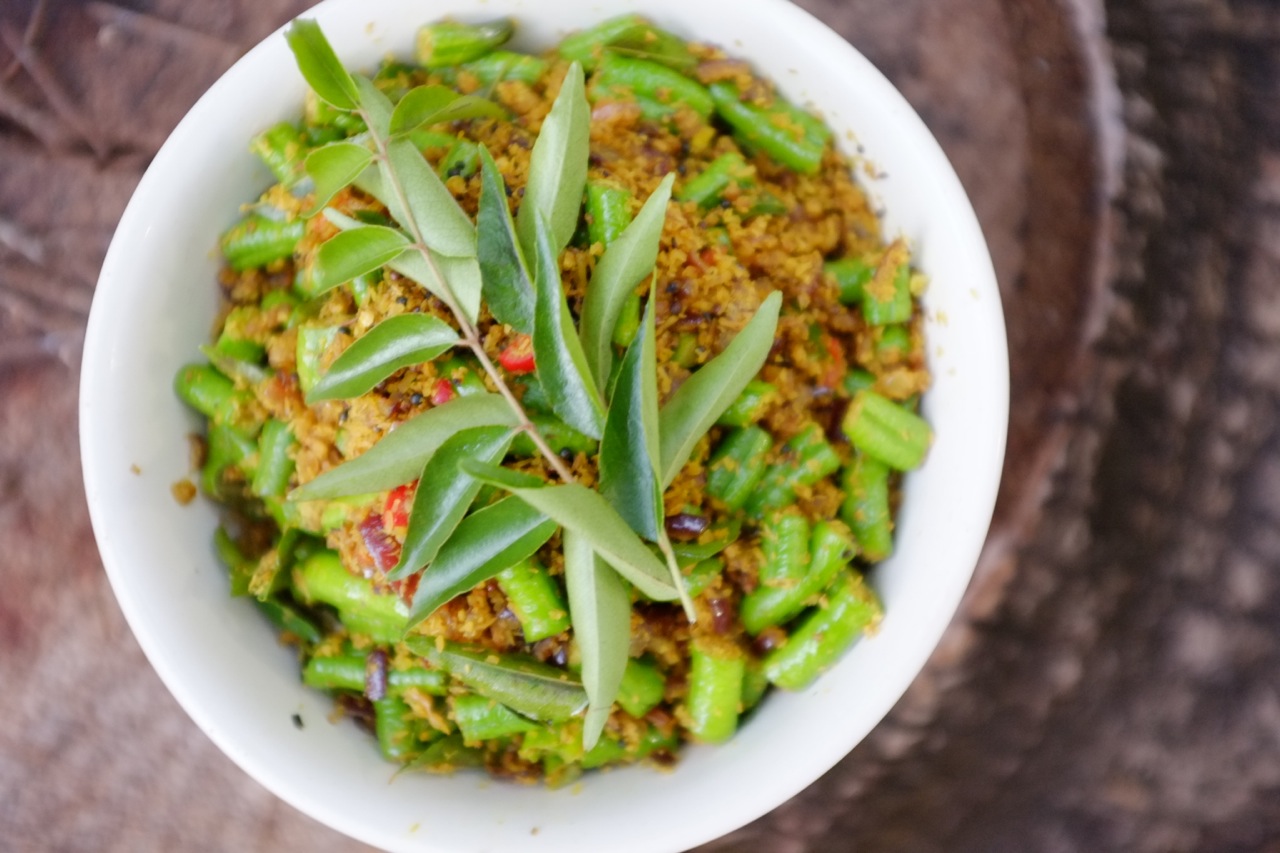
Snake beans are the lanky tropical equivalent of the green bean and you would be forgiven for thinking them somewhat tough and woody with little flavour. This recipe however does them justice. It is full of flavour, crunchy, slightly sweet, bright green and turmeric yellow. The coconut and chili melts on your tongue. The intermittent curry leaves are bright in your mouth. The beans are cooked hot in a wok for just the very right amount of time making them softly crunchy and fluorescent.
I have made this recipe many times since then and each time I have continued to love it. It is similar to the original made by Selvam Kandsamy except I have used coconut oil instead of peanut oil.
Spicy Snake Beans with Coconut and Curry Leaves
Serves: 4 – 5 as a main or 6 – 8 as a side dish.
Note: If you are in distant and cooler parts wanting to use something more locally appropriate I am sure green beans would also make a good substitute.
3 Tbsp pure coconut oil
2 flat tsp brown mustard seeds
2 flat tsp turmeric
1/2 tsp salt
1 red onion finely diced
1 whole fresh red chillis (you can also use 1 tsp dried chilli flakes instead)
1 Tbsp Split yellow lentils (optional)
4 cups chopped snake beans
1/2 cup shredded coconut
A good handful fresh curry leaves
Extra salt to taste

Prepare all your ingredients before hand. Once you start cooking it all happens fast.
In a wok heat the oil on a medium to high flame until hot. Add the mustard seeds, turmeric, onion, and salt. Stir until the onions turn just translucent, then add the chilli and lentils. Continue stirring and add the beans and coconut stirring until the beans are just cooked through but still have a crunch and are bright green. Add the curry leaves and remove from heat.
It is lovely served as a side to fish or on its own with brown rice.
I hope you like it as much as I do.

wild places
July 8, 2013 § Leave a comment
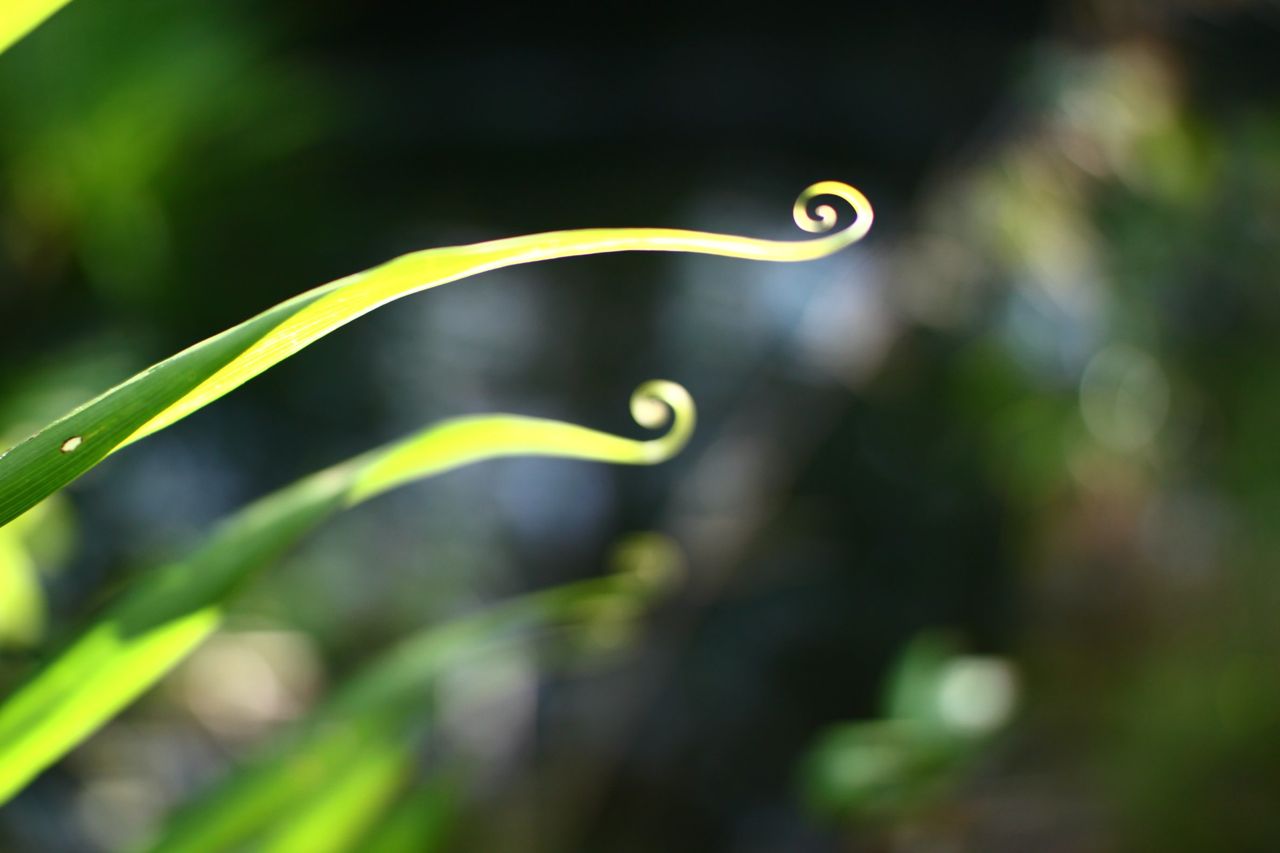
A weekend away out bush has left me longing for more time in wild places. To lay under the stars, my back wrapped against the curve of the earth, feeling the fragile wieght of it beneath me. Hollow, like the shell of an egg holding me up. Weightless. The vastness of the stars above refected in the vastness of the molecuelar detail of the earth below. These two reflections at once extraordinary, large, elegant, detailed and paradoxically humbling and simple. The sun rises and sets, the earth continues its orbit, the moon spins, the sky turns. The water falls across the rocks, the leaves under foot crackle as they dry in the heat, the earth breathes in and out, my breath rolls along with it.


pickles
June 23, 2013 § Leave a comment

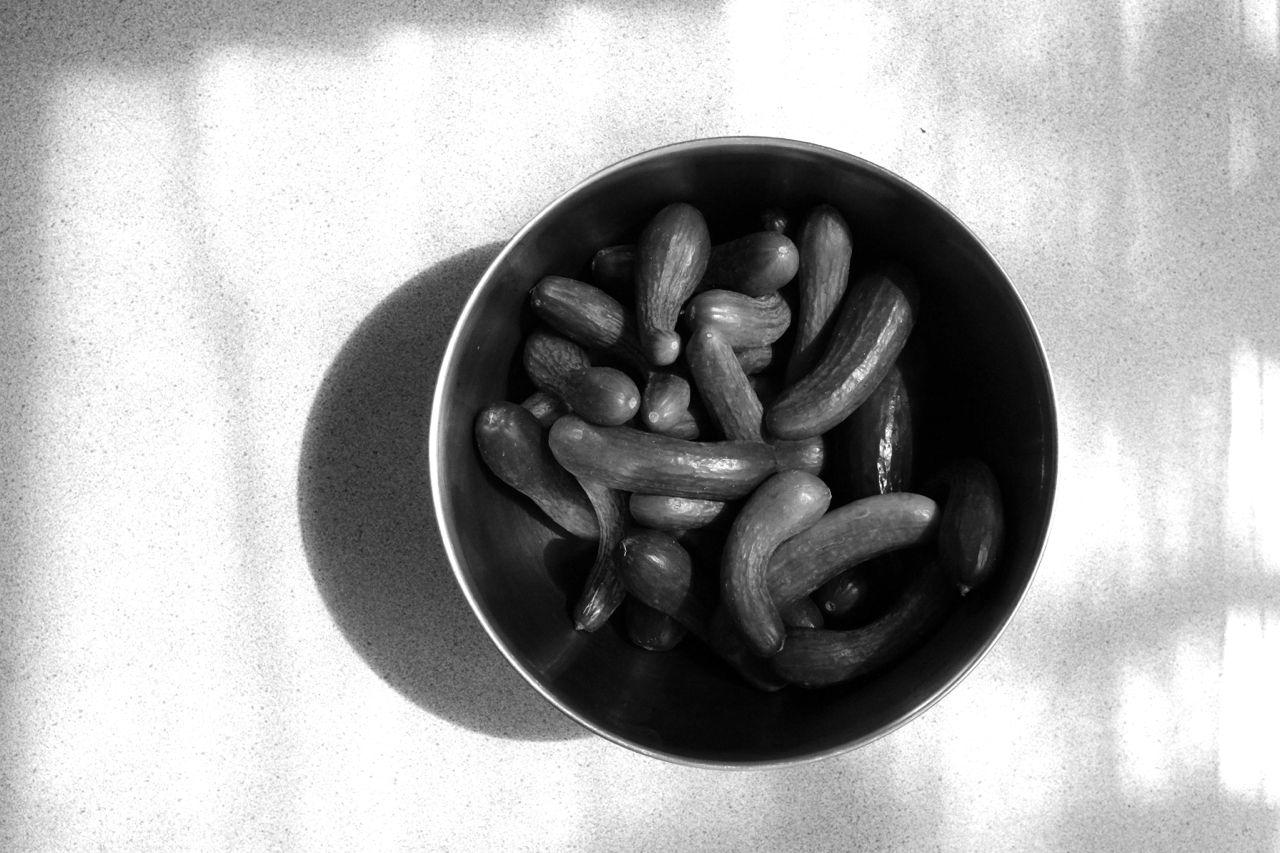
Without meaning to belabour the point, winter is an exciting time in the top end. Really it is like summer down south and the vegies that grow this time of year are proof of that. We have four cucumber plants in pots under the verandah in anticipation that they will provide some edible shade in the coming months. But in the meantime, I have been getting them from the markets, small and sweet, straight from the local growers at Humpty Doo.
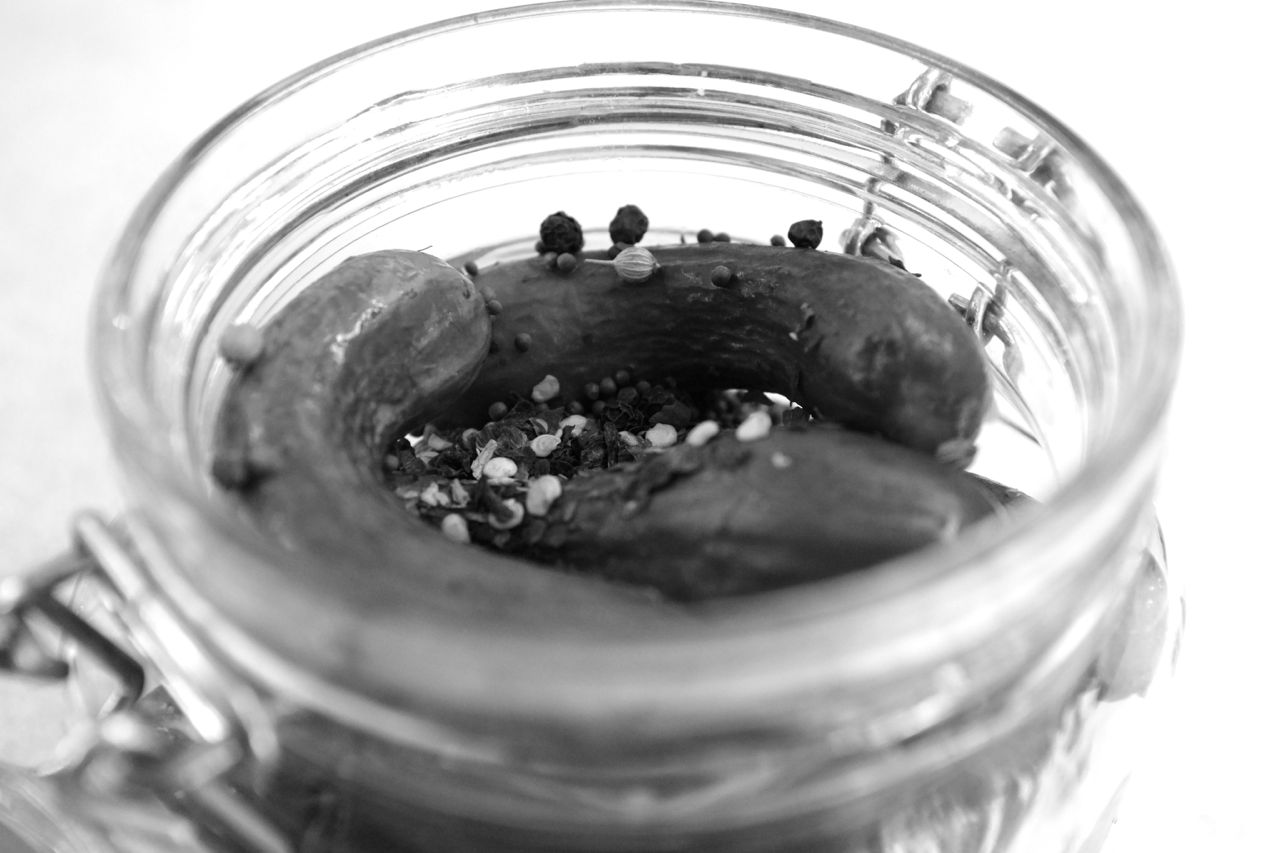
And I know I have mentioned this to you before, but I do love pickles. Crunchy, tart, sour, salty. In true wholesome, traditional and healthy fashion, I have provided you with an old recipe for making pickles, one that uses ancient methods of fermentation and preservation. This way you get all those wonderful lactobacillus which I have been told, on countless occasions by my mother, – are very very good for you. And mothers are always right.
If you want a recipe for pickles that tastes like those you buy in the shops you will need to look elsewhere. Inspired by Jenny at Nourished Kitchen, this recipe uses salt rather than vinegar and as a result, the lacto fermentation process. But still, below I have given you two options for making brine. The first is exclusively with salt and the second is with less salt and a small amount of apple cider vinegar. You can decide which version you like the best.
Lacto fermented pickled cucumbers
For pickling, try to use freshly picked cucumbers if possible, but if not, get ones that are organic and as fresh and small as you can find. Say no more than 2 inches long.
Ingredients
Enough pickling cucumbers to fill your jar(s).
4 cloves of fresh organic garlic – per 500ml jar
1 tsp spices (for example, allspice, mustard seeds, bay leaf, black pepper, dried chilli flakes etc) – per 500ml jar
Optional – Use 1 fresh grape-vine leaf with the stem removed or a horseradish leaf per 500ml jar. This will help your pickles to stay crisp when the lactic acid fermentation is complete.
Brine
Option 1: 2 ½ – 3 tablespoons of salt per 4 cups of chlorine free filtered water
Option 2: 1 tablespoon of salt and 2 tablespoons apple cider vinegar for every 3 cups of chlorine free filtered water.
(1 cup of brine usually fills a 500ml jar)
Method
If you were unable to pick your cucumbers fresh, the first thing you will need to do is soak them in very cold icy water to perk them up before they ferment. Next, you’ll want to make sure all stems and flowery ends have been removed as they may give an off-flavor to the pickles. I generally cut a tiny scrape off the ends of each cucumber with a knife to be certain. It is also important that each cucumber is cleaned carefully. These steps will help ensure your pickles remain crunchy.
Place the pickling cucumbers, garlic and spices in sterilised jars in layers and ensure that they are a snug fit but without damaging the cucumbers. Add the horseradish or grape-vine leaf if you have it.
Prepare your brine. Shake or stir to help the salt fully dissolve. Pour the brine over the pickling cucumbers, until all of the ingredients are submerged. It is important that all of the ingredients are covered with the brine, and if necessary add a clean weight into the jar to help push them under the liquid, for example, a small plastic lid. Secure the lid and allow to ferment at room temperature for between 5 and 10 days, depending on your climate. The cooler it is the longer it will take. Once they are ready, store in the fridge to be eaten as you please.
As a side, I know it can be a fear with people, as it was with me, to be uncertain about whether your ferments are off. All I can say is, trust me, you will know. The smell is bad enough that you won’t want to touch them.
basil and papaya
June 6, 2013 § 2 Comments
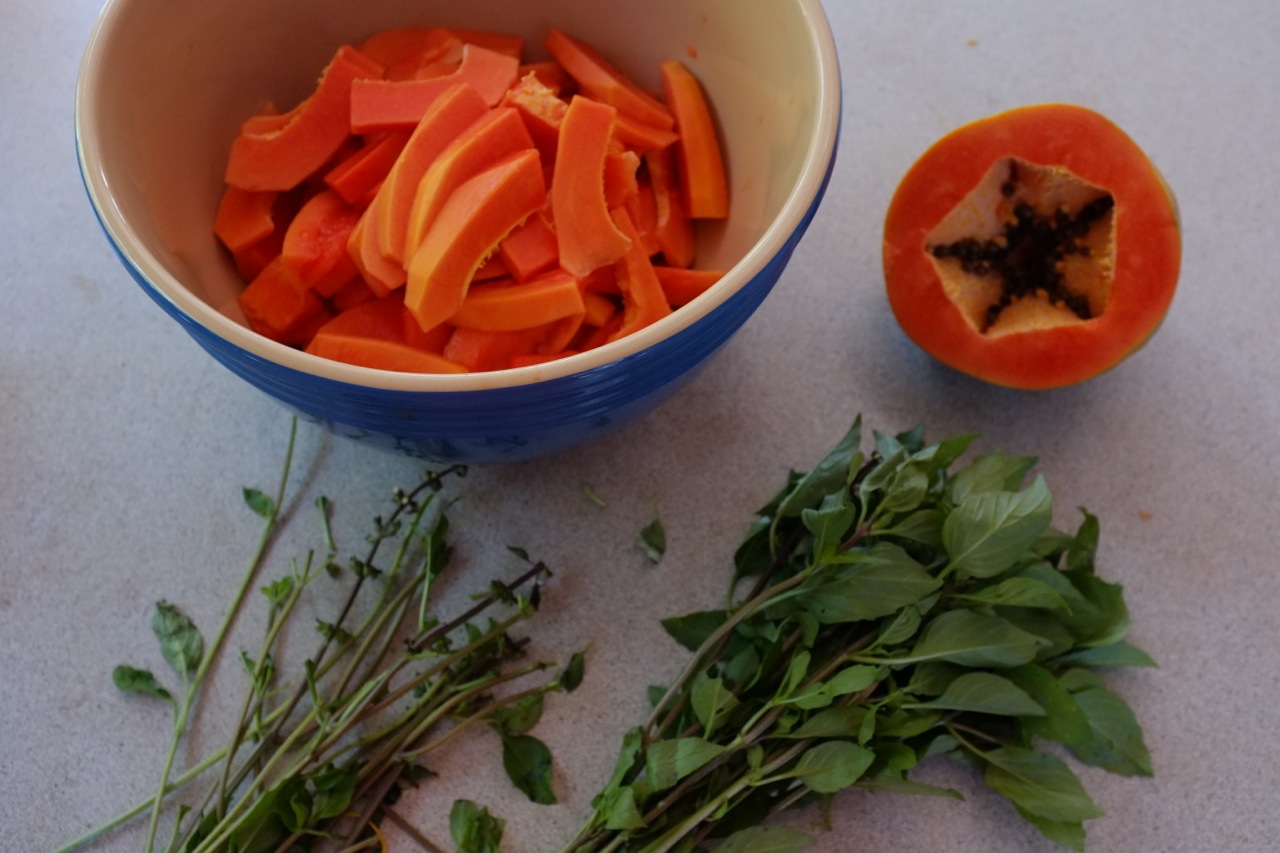

If you are one of those people who like papaya, this one is for you. I know, I have done it before with strawberries and basil, a recipe good enough to serve to the prime minister of Australia, and perhaps I should have just left it at that. But with fresh papayas straight from the tree in our back yard and thai basil and limes also in the garden I couldn’t help myself.
I can’t promise it will blow your socks off but papaya, lime and thai basil salad is in every way good. The pictures say it all.

a house with trees
May 28, 2013 § Leave a comment
Time has lost me. I’m well behind now – lagging in a place I slowed down in 3 months ago. It could be the heat – sticky and stiff, it could just be me. My heart is beating its own timely rhythm, its willing me on. I am aware that this is the only sound I should be listening to, but sometimes I am not so sure I want to. SometimesI am deep, relaxed, peaceful in a place within myself. And yet, other times its as if I am drowning in all this beating, slow, quiet place of time.
From the couch, I look out over our kitchen table through the wide open louvres onto a big bushy mess of galangal growing tall and stalky. I had no idea it could grow so big, so tall, provide so much blissful shade. It’s a wonderful scene to look out on and its these little things that I am enjoying in all my time. The green in our house, breathing down our backs, cupping our little lives in their chlorophyll drenched leaves, whispering barely audible stories. Slow modest stories of patience, and being where you are and nowhere else. They nod in the breeze, in agreement to my thoughts, they shrink in the sun and bask in the night – cool relief. This is our green drenched home in inner city Darwin.